Don't miss our holiday offer - up to 50% OFF!
Wooden Wine Rack Diy Woodworking Plans
Creative Wooden Wine Rack DIY Woodworking Plans for Beginners
Creating your own wooden wine rack is a rewarding project that adds charm to your home and showcases your woodworking skills. For beginners, having accessible and creative woodworking plans is essential. Not only do these plans guide you through the process, but they also inspire creativity. Here are some ideas to get you started on crafting your own wooden wine rack. With a little patience and some simple tools, you’ll be well on your way to creating a unique piece.
Essential Tools and Materials
Before diving into the plans, it’s important to gather your materials and tools. Here’s a list to help you prepare:
- Quality hardwood (like oak or pine)
- Circular saw or miter saw
- Drill with a set of drill bits
- Screws and wood glue
- Sanding block or electric sander
- Wood stain or sealant (optional)
- Tape measure and square
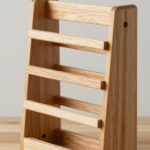
Simple Vertical Wine Rack Plan
This design saves space and works great in small areas.
Get 16,000 Woodworking Plans Now
- Cut your wood: Start by cutting two vertical pieces (each about 4 feet long) and several horizontal strips (around 2 feet long) for holding the bottles.
- Assemble the frame: Attach the horizontal pieces to the vertical pieces using screws, forming a rectangular frame. Make sure they are evenly spaced.
- Drill circular holes: If you want the bottles to sit securely, drill holes in the horizontal pieces just large enough for the bottles to sit snugly.
- Sanding: Smooth out any rough edges with your sander to ensure a nice finish.
- Finishing touches: You can leave it natural, apply wood stain, or seal it with a clear finish to enhance its appearance.
Rustic Crate Wine Rack Design
This design brings a rustic charm to your wine storage. It’s simple and can be customized to fit your style.
- Build the crates: Cut six pieces of wood for the sides, base, and top of the crates. Each crate should measure about 18 inches long, 12 inches wide, and 10 inches high.
- Assembly: Create crate boxes by attaching the sides to the base with screws. Use additional slats for a decorative touch.
- Stacking: Once your crates are ready, stack them on top of each other or stand them side by side on a shelf. This gives you versatility in space usage.
- Personalize it: Use wood stain or paint to match your décor. Adding stencils or wood burning can enhance the rustic look.
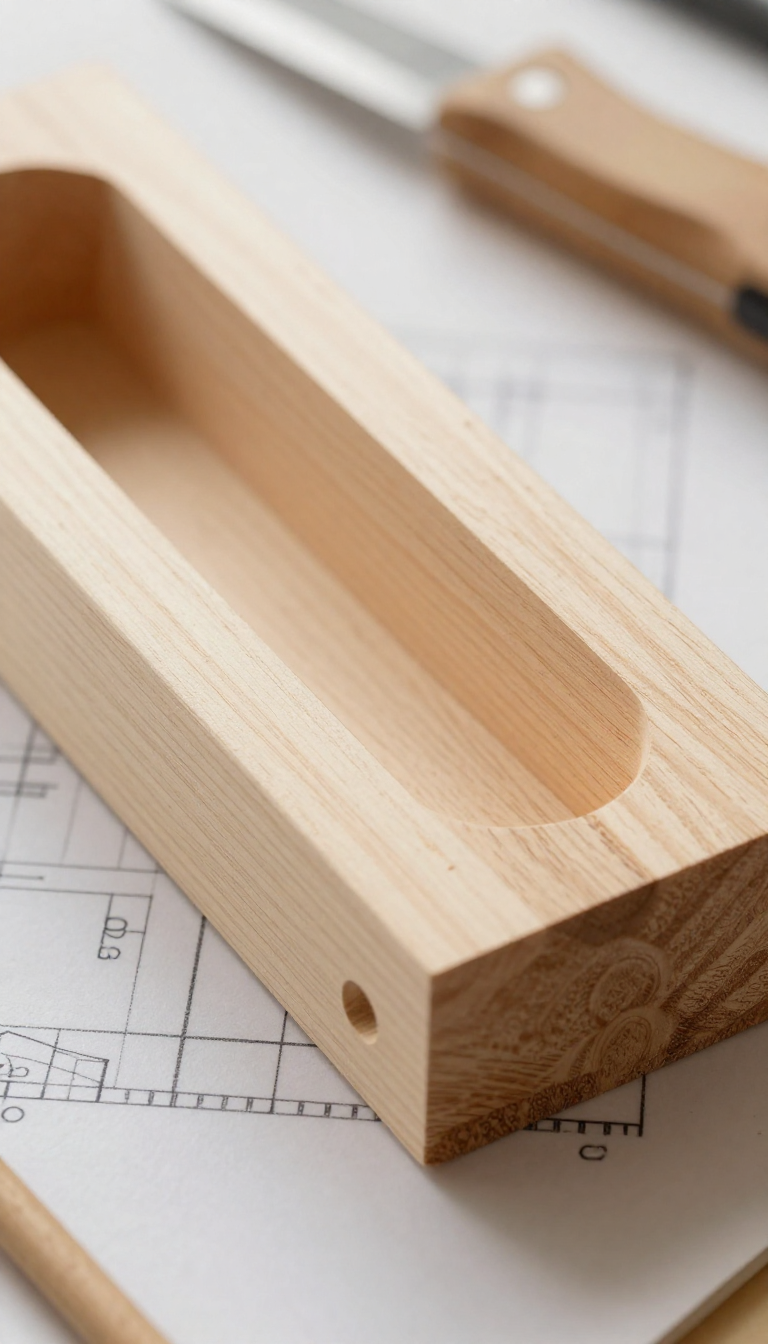
Easy Tabletop Wine Rack
If you prefer a more compact design, a tabletop wine rack may be the answer. Here’s a quick plan:
Get 16,000 Woodworking Plans Now
- Measuring design: Cut two long pieces (about 30 inches) and two short pieces (about 10 inches) for the sides.
- Drill slots: On the long pieces, drill out evenly spaced slots where the wine bottles will rest.
- Assembly: Attach all pieces together, ensuring a solid structure. The short pieces will give stability to the rack.
- Finishing: Sand and stain followed by clear sealing. This rack will fit beautifully on your kitchen counter!
Tips for Successful Woodworking
When working on your wooden wine rack, keep these tips in mind:
- Always measure twice before cutting to avoid mistakes.
- Choose wood that suits your taste and complements your home.
- Take your time with the sanding process to achieve a smooth finish.
- Don’t hesitate to modify plans to reflect your personal style!
- Consider the weight of the bottles when designing your rack for stability.
Crafting your own wooden wine rack is not only functional but also a creative outlet. Whether you choose a vertical rack, rustic crates, or a tabletop design, each has its charm. With these woodworking plans, you’re sure to enhance your home while enjoying the process. So gather your tools and materials, and let your creativity flow!
Essential Tools and Techniques for Successful DIY Woodworking Projects
Embarking on a DIY woodworking project can be both exciting and rewarding. To ensure your project is a success, it’s crucial to have the right tools and techniques at your disposal. Understanding the essentials will enhance your skills and boost your confidence as you work on various projects.
Get 16,000 Woodworking Plans Now
One of the first steps in any woodworking task is gathering your tools. Here’s a list of essential tools you’ll need:
- Measuring Tape: Accurate measurements are the foundation of any project. A sturdy measuring tape helps you ensure that every piece fits perfectly.
- Square: A carpenter’s square aids in measuring right angles, which is vital for creating clean and precise cuts.
- Hand Saw: Essential for cutting wood. Invest in a good quality hand saw for fine cuts or consider a power saw for larger projects.
- Drill: A power drill is indispensable for making holes and driving screws. Choose one that offers versatility with various drill bits.
- Sandpaper: Sandpaper is your friend when it comes to finishing touches. It smooths surfaces and edges, ensuring your project looks polished.
- Clamps: These sturdy tools hold your pieces together while glue dries, providing stability and accuracy.
- Wood Glue: This is essential for creating strong bonds between wood pieces. Ensure you choose a glue that is suitable for your wood type.
- Workbench: A solid workbench provides a dedicated space to work on your projects safely and effectively.
With the right tools on hand, it’s essential to master key techniques to ensure that your woodworking projects succeed. Here are a few techniques to keep in mind:
Get 16,000 Woodworking Plans Now
- Measuring Twice: Always measure twice before making a cut. This mantra can save you from mistakes that could waste materials and time.
- Cutting Accurately: When making cuts, take your time. Follow the marked lines closely, and use a guide or clamp to stabilize the wood.
- Proper Sanding: Sand wood in the direction of the grain, using progressively finer sandpaper to achieve a smooth finish. This will help highlight the beauty of the wood.
- Jointing and Planing: Use a jointer or planer to ensure that edges fit snugly together. This is particularly important for larger projects like tables or cabinets.
- Finishing Techniques: Choose the right stains, paints, or sealants to protect and enhance the look of your wood. Experiment with different finishes to see which you prefer.
Beyond the tools and techniques, having a positive mindset is crucial. DIY woodworking can sometimes present challenges, so it’s important to stay patient and adaptable. Here are a few tips to nurture your DIY spirit:
- Start Small: If you’re new to woodworking, begin with straightforward projects like a small shelf or a simple wooden box. This builds your skills gradually.
- Join a Community: Connect with other woodworking enthusiasts online or in-person. Sharing experiences and tips can be tremendously helpful.
- Learn Through Videos: Utilize online video tutorials. Seeing someone demonstrate a technique can clarify steps that written instructions might not convey.
- Safety First: Always prioritize safety. Wear appropriate gear like safety glasses and gloves, and keep your workspace tidy to avoid injuries.
DIY woodworking is not just about creating furniture or home decor; it’s also about personal expression and satisfaction. Every project enhances your skills and gives you a deeper appreciation for the craft.
Get 16,000 Woodworking Plans Now
By equipping yourself with the essential tools, mastering fundamental techniques, and fostering a positive learning environment, you will set the stage for successful woodworking endeavors. Each project you complete brings you one step closer to becoming a skilled woodworker. Whether you’re building a rustic wine rack, crafting detailed carvings, or designing functional furniture, the joy of working with wood will always be a fulfilling journey.
Conclusion
Creating a wooden wine rack through DIY woodworking plans can be a rewarding project, especially for beginners looking to enhance their skills while adding a personal touch to their home. By exploring various creative designs, you can find a style that suits your taste and décor, whether it’s a simple countertop piece or an intricate wall-mounted rack.
Equipping yourself with the essential tools and techniques is crucial for success. Tools like saws, drills, and measuring devices ensure precision in your cuts and assembly. Additionally, familiarizing yourself with woodworking methods such as sanding, finishing, and joinery not only elevates the quality of your project but also builds your confidence for future endeavors.
Get 16,000 Woodworking Plans Now
Remember, woodworking is as much about the process as it is about the final product. Embrace the learning experience, and don’t hesitate to experiment with different materials and designs. Each project you undertake will not only refine your skills but also add to your understanding of woodworking principles.
So gather your tools, select your favorite design, and start crafting your wooden wine rack. It’s not just about the wine you’ll store; it’s about the memories you’ll create while making it. Whether you’re a wine connoisseur or just looking for a unique home décor piece, your DIY wooden wine rack will be a source of pride and a testament to your growing woodworking abilities. Happy building!