Don't miss our holiday offer - up to 50% OFF!
Woodworking Plans Coat Rack
Creative Woodworking Plans for a Stylish Coat Rack
If you’re thinking about adding a touch of uniqueness and functionality to your entryway, creating a coat rack is a fantastic project. Woodworking plans for coat racks can help you blend style and convenience perfectly. Not only do these projects add organization to your home, but they also allow you to showcase your personal style and skills. Here are some creative ideas and plans to help you build a stylish coat rack.
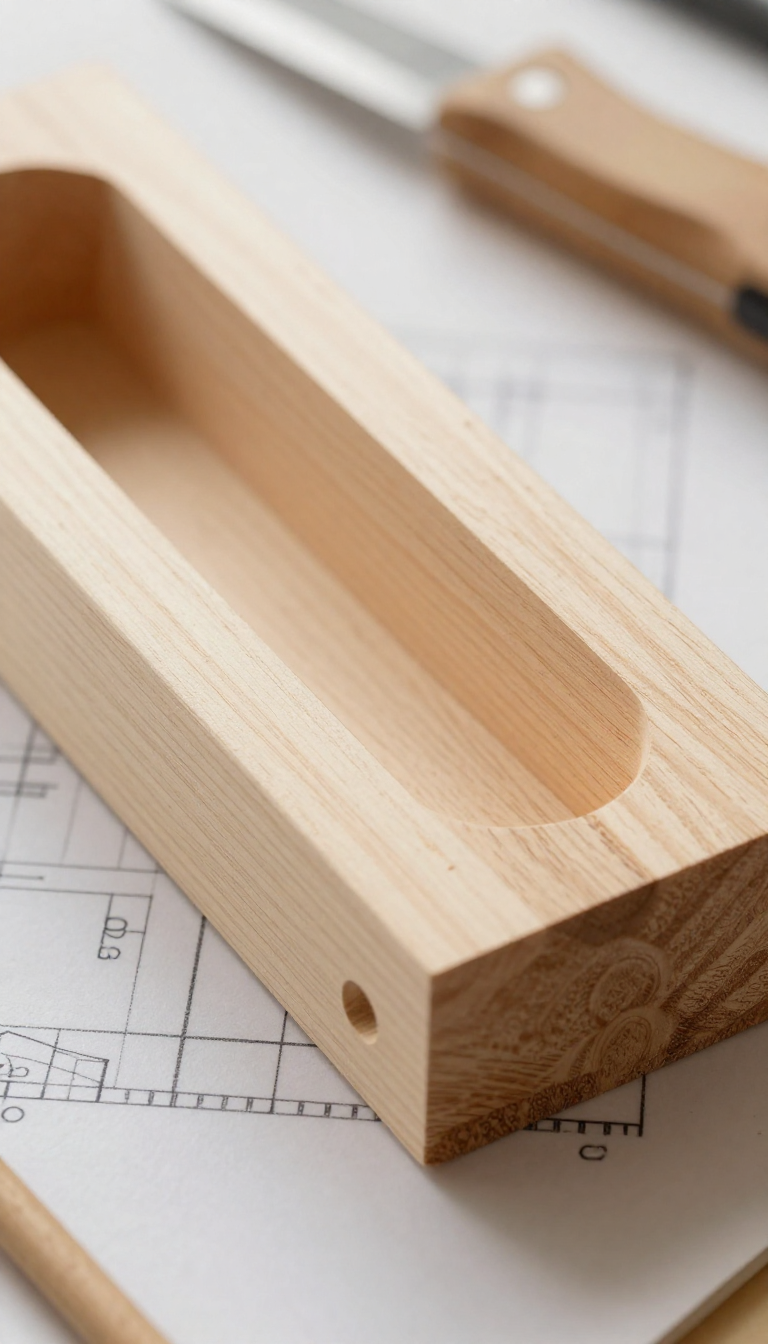
Materials You’ll Need
Before diving into your project, gather the necessary materials. Here’s a list to get you started:
- Wood (choose your favorite type such as oak, pine, or cedar)
- Wood screws
- Wood glue
- Sandpaper (various grits)
- Paint or wood stain
- Hooks (metal, wooden, or decorative)
- Brackets or wall mounts (if applicable)
Simple Wall-Mounted Coat Rack
A wall-mounted coat rack saves space and looks sleek. Here’s how to create a simple design:
Get 16,000 Woodworking Plans Now
- Select Your Wood: Pick a sturdy piece of wood that fits your space. A length of 36 inches is great for average entryways.
- Sand and Finish: Sand the wood to smooth out any rough edges. You can choose to stain or paint it to match your decor.
- Add Hooks: Mark and drill holes for your hooks. Space them evenly for a balanced look. Install the hooks securely to support heavy coats.
- Mounting: Using brackets or wall mounts, attach the coat rack to the wall. Be sure to locate studs for secure installation.
Freestanding Coat Rack
If you prefer a coat rack that can be moved around, consider crafting a freestanding model. Here’s how to go about it:
- Base and Pole Dimensions: Cut a sturdy base from thicker wood (like a 24-inch square). The pole should be about 5 to 6 feet tall.
- Join the Pieces: Securely attach the pole to the center of the base using wood glue and screws. Make sure it’s stable enough to hold coats.
- Add Hooks: Space your hooks along the pole, starting from the top and working your way down. You could also use wooden dowels for a slightly different look.
- Finishing Touches: Sand the entire coat rack, and then paint or stain as per your preference.
Rustic Branch Coat Rack
If you love a more organic aesthetic, a rustic coat rack made from branches might be your perfect project. Follow these steps:
Get 16,000 Woodworking Plans Now
- Collect Branches: Find sturdy branches that are about 1–2 inches in diameter. They should be relatively straight and free of decay.
- Prepare the Base: Use a thick piece of wood as the base. This can be a solid rectangular shape.
- Attach the Branches: Drill holes into the base and insert the branches. Secure with wood glue and screws for stability.
- Finishing: Sand any rough edges, and finish with a wood stain to bring out the natural beauty of the branches.
Personalize Your Design
With your basic coat rack built, consider adding personal touches. You might engrave your family name or paint seasonal designs to spruce it up. Adding additional shelves or even integrating a small bench are also great ways to enhance functionality while staying stylish.
Final touches and Installation
Once your project is finished, take a moment to position your coat rack wisely. Consider the flow of your entryway and how it will fit in with the other elements in the room. Whether you hang it on the wall or let it stand free, your stylish coat rack will serve as both a functional piece and a conversation starter.
Get 16,000 Woodworking Plans Now
By following these woodworking plans for a coat rack, you’ll not only create a useful item but also ensure that your entryway has a personal and inviting touch. Happy woodworking!
Essential Tools and Techniques for Building Your Own Coat Rack
Building your own coat rack can be a rewarding project that adds both style and functionality to your home. Not only does it help keep your space organized, but it also allows you to express your creativity. To embark on this woodworking journey, you’ll need the right tools and techniques for the best results. Here’s a breakdown of what you should consider before you start.
Essential Tools for Your Coat Rack Project
Having the right tools makes all the difference in your woodworking projects. Here’s a list of essential tools that you’ll need to build your own coat rack:
Get 16,000 Woodworking Plans Now
- Measuring Tape: Accurate measurements are crucial. A measuring tape will help you determine the right dimensions for your coat rack.
- Square: This tool ensures that your cuts are straight and your joints are at the correct angles.
- Saw: A miter saw or circular saw is ideal for cutting wood to size. Choose based on the complexity of your design.
- Drill: A cordless drill will be essential for making holes for screws and installing hooks.
- Sander: Sanding your wood is important for a smooth finish. An orbital sander can save you time and effort.
- Paintbrush or Roller: If you opt to paint or stain your coat rack, these tools will help you apply your chosen finish evenly.
Techniques for Building Your Coat Rack
Now that you’ve gathered your tools, let’s look at some techniques that can help you create a beautiful coat rack:
1. Design Your Coat Rack
Before cutting any wood, sketch out the design you want. Consider the number of hooks you’ll need and the overall size of your coat rack. You can draw inspiration from existing coat racks or create a unique design that suits your space.
Get 16,000 Woodworking Plans Now
2. Choose the Right Wood
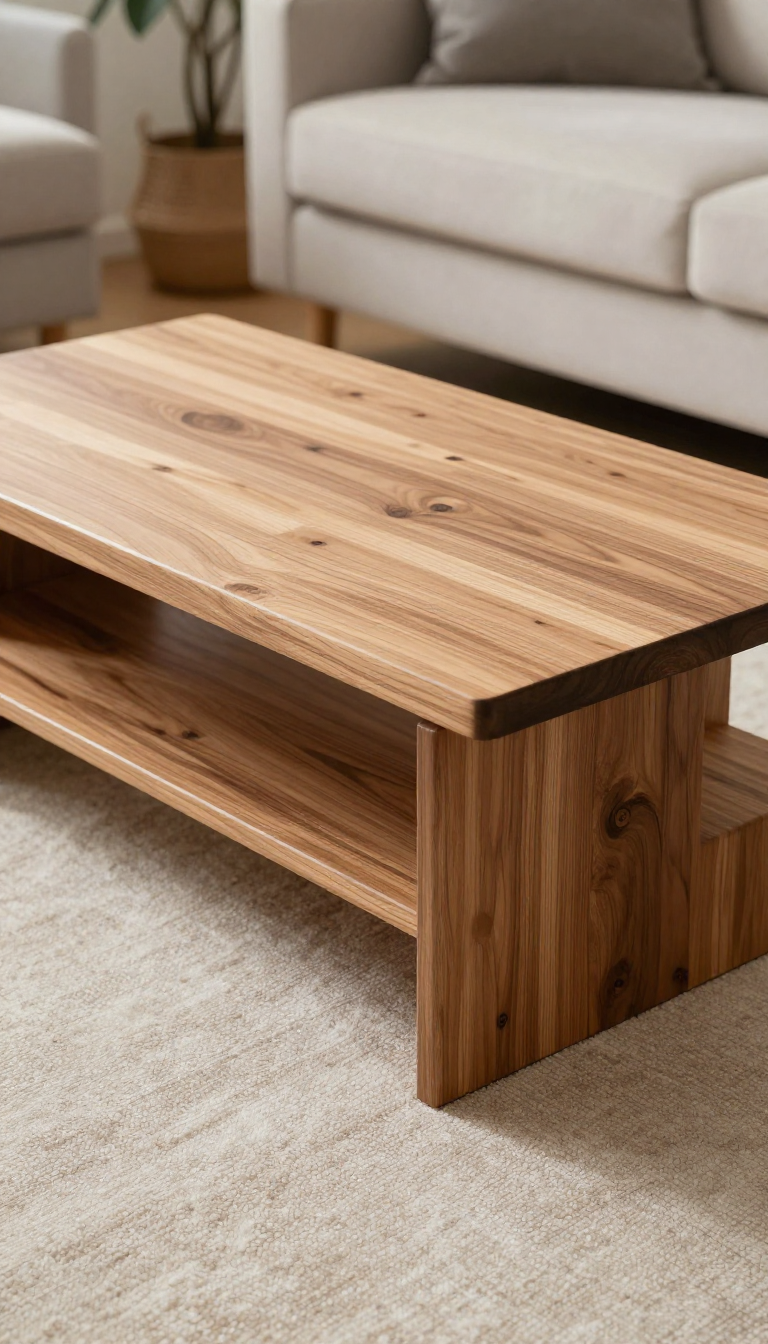
The type of wood you select can significantly impact the final product’s look and durability. Softwoods like pine are easier to work with and are often more affordable. Hardwoods like oak or maple offer a sturdier build and a more elegant finish, but they can be more challenging to cut and shape.
3. Measure and Cut
Use your measuring tape and square to mark precise cutting points on your wood. Take your time with this step; accuracy here will ensure that your coat rack comes together correctly. Once marked, carefully make your cuts with your saw.
Get 16,000 Woodworking Plans Now
4. Assemble the Parts
Start by assembling the main structure. Use wood glue and screws to secure the pieces together. Drill pilot holes to prevent the wood from splitting. If your coat rack has a backer board, attach it before adding hooks to create a sturdy support.
5. Add Hooks
Once the main structure is assembled and the glue has dried, it’s time to add the hooks. Use your drill to position and attach the hooks securely. Spacing them evenly will enhance both the functionality and appearance of your coat rack.
Get 16,000 Woodworking Plans Now
6. Sanding and Finishing Touches
Now that everything is assembled, it’s time to sand your coat rack. Start with a coarse grit sandpaper and work your way to finer grits for a smooth finish. After sanding, you can choose to paint, stain, or leave the wood natural depending on your aesthetic preference.
7. Installation
If you plan to hang the coat rack on the wall, determine the best height. It’s typically convenient to place the hooks at a height that makes it easy for everyone in your household to reach them. Use wall anchors if necessary to ensure the stability of your coat rack.
Get 16,000 Woodworking Plans Now
By following these steps and using the right tools, you can create a beautiful, functional coat rack for your home. The best part is you can customize it to match your decor and meet your storage needs. Enjoy the satisfaction of having made something useful with your own hands!
Conclusion
Crafting a unique coat rack can be a rewarding project that enhances your home’s entryway while showcasing your personal style. By exploring creative woodworking plans, you can design a coat rack that perfectly matches your decor and fits your needs. Whether you prefer a minimalist design or something more ornate, the possibilities are endless.
Equipping yourself with the essential tools and techniques is crucial for success in this endeavor. Familiarizing yourself with fundamental woodworking skills, such as measuring, cutting, and assembling, sets a solid foundation for your project. Choosing quality materials, like solid wood and reliable hardware, will not only ensure durability but also add a polished aesthetic to your final product.
Get 16,000 Woodworking Plans Now
Don’t forget the importance of safety; always use protective gear and follow best practices to keep your workspace organized and your mind focused. As you embark on this journey, let your creativity guide you, allowing your coat rack to become more than just a functional item, but a true reflection of your individuality.
So gather your tools, select a woodworking plan that excites you, and start building! You’ll not only end up with a practical coat rack but also gain valuable skills and enjoy the satisfaction that comes with creating something with your own hands. Remember, every project is a step towards becoming more confident in your woodworking abilities. Happy crafting!